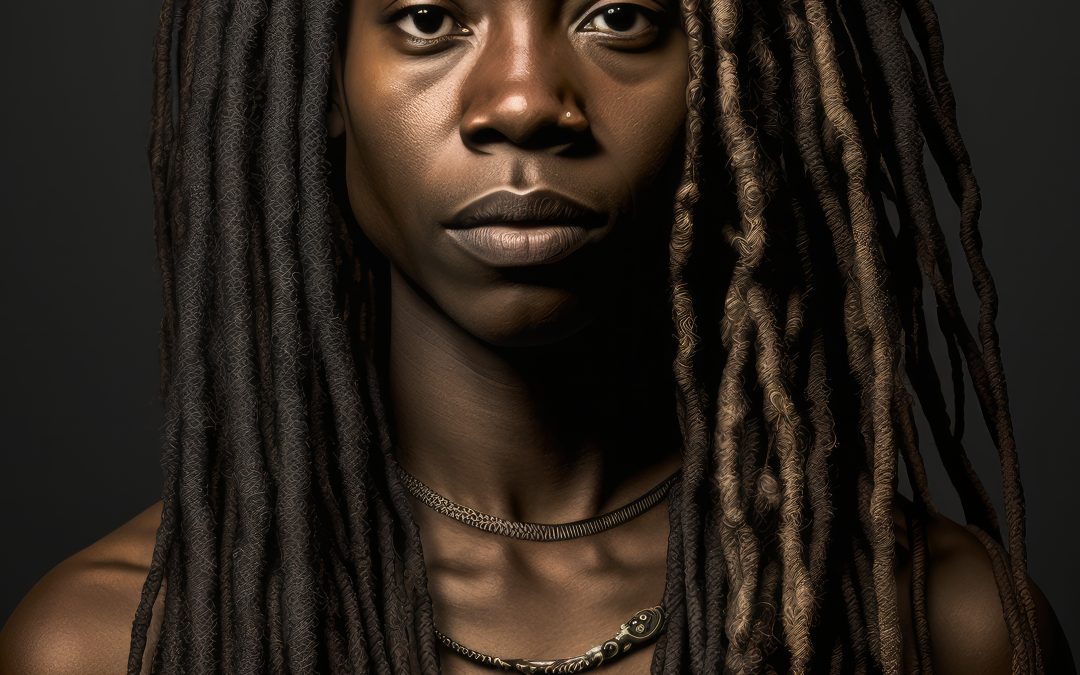
Nurturing Your Tresses: Understanding and Repairing Damage from Braids, Dreadlocks, and Cornrows in HAIRDRESSING / HAIR AND BEAUTY / COSMETOLOGY

While braids, dreadlocks, and cornrows offer a chic and protective style, it’s crucial to recognize the potential for damage to your hair and scalp. In this exploration of HAIRDRESSING / HAIR AND BEAUTY / COSMETOLOGY, we’ll delve into the factors that contribute to damage and unveil effective strategies for repairing and rejuvenating your hair post-removal.
Factors Contributing to Damage:
Tension and Pulling: The tightness of braids, dreadlocks, or cornrows, especially when done excessively tight, can exert constant tension on the hair follicles and scalp. This tension may lead to breakage, thinning, and even traction alopecia.
Improper Installation: Inexperienced hands during the installation process can result in uneven tension, uneven parting, and excessive pulling. This may cause stress on specific areas of the scalp, leading to damage over time.
Product Buildup: Infrequent washing or the use of heavy styling products can lead to product buildup. Accumulated residue may suffocate the scalp and hair, hindering proper hydration and promoting a conducive environment for issues such as dandruff and itching.
Neglecting Moisture: The misconception that protective styles require minimal maintenance can lead to neglect of moisturizing routines. Lack of hydration can render hair brittle and prone to breakage.
Extension Material: The choice of extension material, especially if it is heavy or of poor quality, can contribute to damage. Heavy extensions can pull on natural hair, while low-quality materials may cause friction and damage during installation and removal.
Repairing the Damage:
Gentle Detangling: Start the repair process by gently detangling your hair after removal. Use a wide-tooth comb or your fingers to separate strands, starting from the ends and working your way up.
Deep Conditioning: Infuse your hair with moisture through regular deep conditioning treatments. Opt for HAIRDRESSING / HAIR AND BEAUTY / COSMETOLOGY products rich in hydrating ingredients, such as argan oil, shea butter, and keratin, to nourish and strengthen your strands.
Scalp Massage: Promote blood circulation and stimulate hair growth by incorporating regular scalp massages into your routine. Use a nourishing oil like coconut or jojoba for added benefits.
Protein Treatments: Integrate protein treatments into your regimen to restore strength and elasticity to damaged hair. These treatments can help repair weakened strands and prevent future breakage.
Trimming Split Ends: Schedule regular trims to eliminate split ends and prevent further damage from traveling up the hair shaft. This ensures that your hair maintains a healthy appearance and texture.
Consult a Professional: If damage is severe or persistent, seek the expertise of a professional hairdresser or cosmetologist. They can provide tailored advice, specialized treatments, and a personalized care plan based on the specific needs of your hair and scalp.
Conclusion:
Braids, dreadlocks, and cornrows can be stunning styles, but it’s essential to be mindful of the potential damage they may cause. By understanding the factors contributing to damage and employing effective repair strategies rooted in HAIRDRESSING / HAIR AND BEAUTY / COSMETOLOGY principles, you can rejuvenate your hair and scalp, ensuring they are ready for your next stylish venture. Remember, healthy hair is beautiful hair!